Introduction
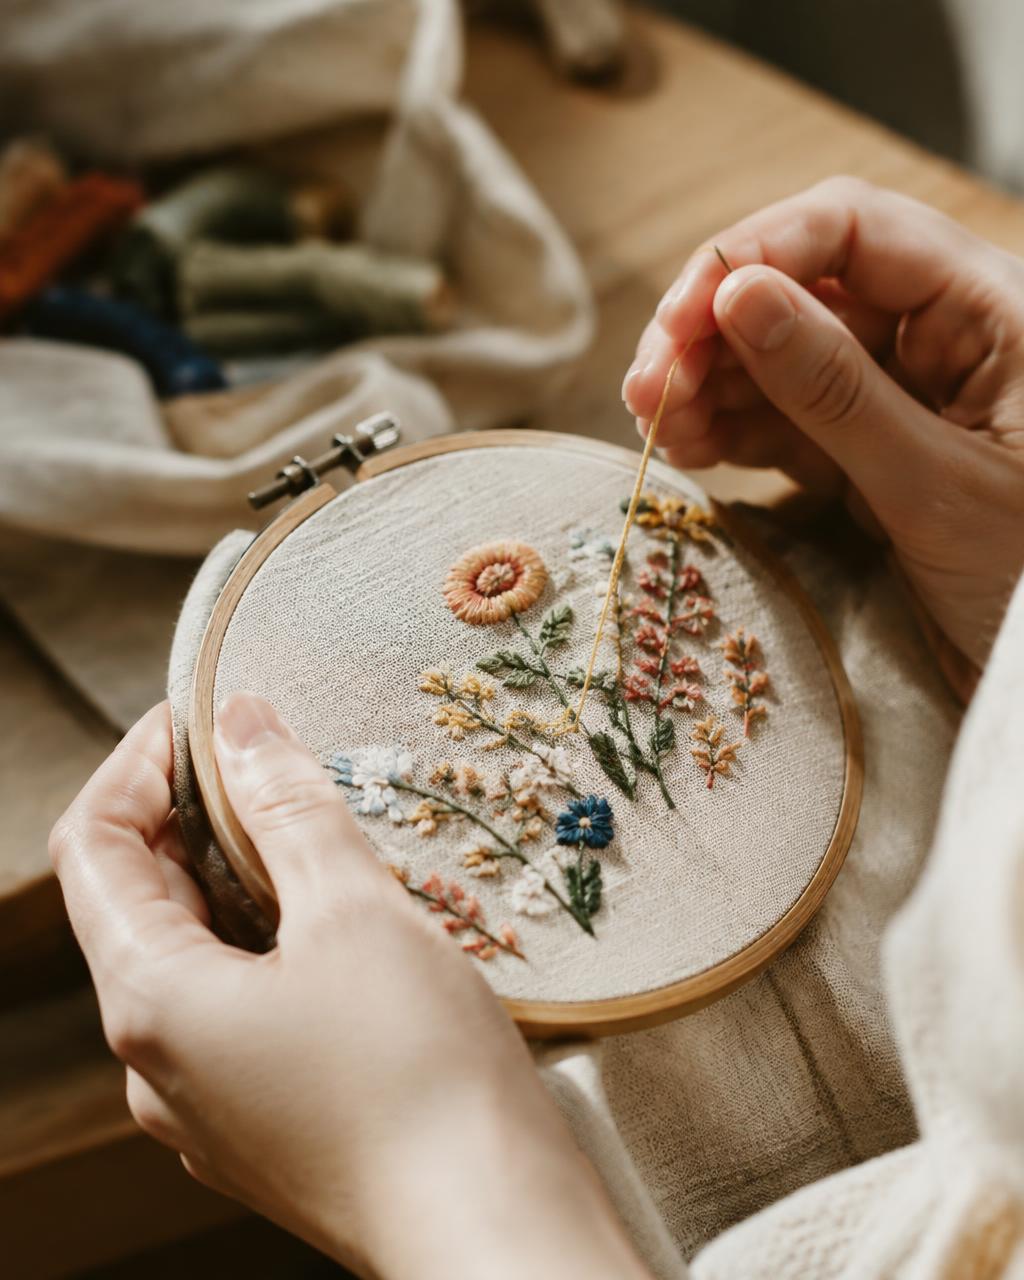
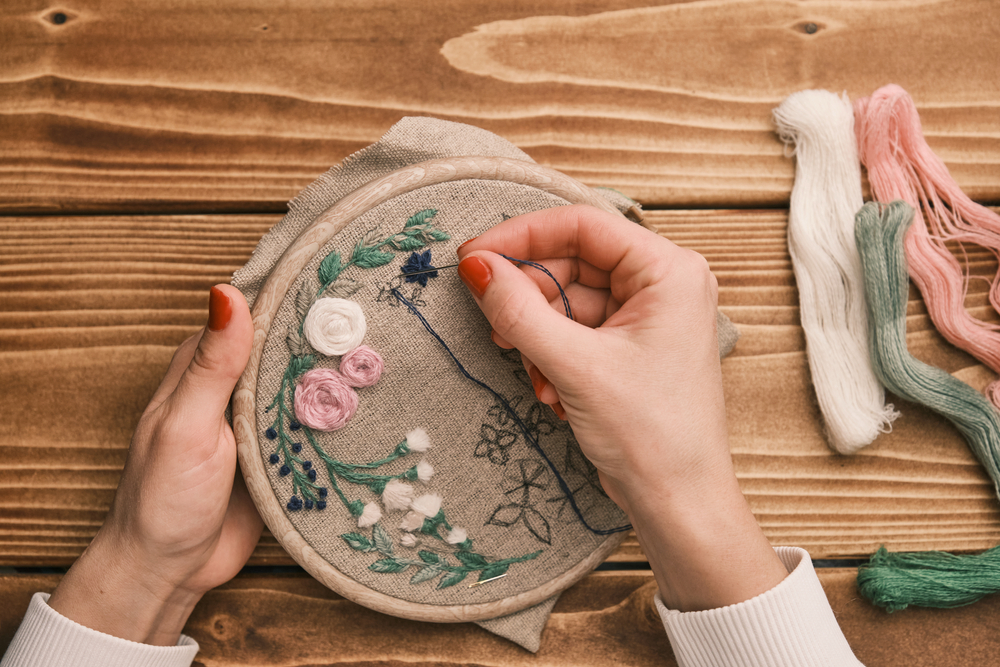
Embroidery is one of those hobbies that can look complicated from the outside but is surprisingly easy to begin. You don't need an expensive machine, a dedicated craft room, or years of sewing experience. A hoop, a needle, some thread, fabric, and a handful of basic stitches are enough to make your first piece.
It's also a hobby you can fit into ordinary life. You can work on a small design for twenty minutes in the evening, take a project with you when you travel, or spend a quiet afternoon learning new stitches.
This guide walks you through what you actually need, how to set up your first hoop, which stitches to learn first, and how to choose a beginner project without buying more supplies than necessary.
What Do You Need to Start Embroidery?
You can start hand embroidery with a surprisingly small collection of supplies.
For your first project, you'll need:
An embroidery hoop
Embroidery needles
Embroidery floss
Fabric
Small sharp scissors
A simple pattern
A washable fabric-marking pen or pencil
You don't need to buy a large embroidery kit or dozens of thread colors before you know whether you enjoy the hobby.
Embroidery Hoop
A hoop holds your fabric taut while you stitch.
For beginners, a hoop around 5–7 inches is a comfortable size for many small projects. Wooden and plastic hoops can both work well.
The important thing is that the hoop holds the fabric securely without constantly slipping.
Embroidery Needles
Embroidery needles have a larger eye than ordinary sewing needles, making it easier to thread embroidery floss.
A small assorted pack is useful when you're beginning because different fabrics and numbers of thread strands can work better with different needle sizes.
Embroidery Floss
Six-strand cotton embroidery floss is commonly used for hand embroidery.
The strands can be separated, allowing you to change the thickness of your stitches.
You don't need dozens of colors for your first project. A simple design using three to six colors is enough.
Fabric
Choose a stable, easy-to-see fabric for your first project.
Plain cotton or linen-blend fabric can be easier to work with than stretchy, slippery, or very loosely woven material.
Light-colored fabric also makes transferred patterns easier to see while you're learning.
Scissors
Small embroidery scissors are convenient for trimming thread, but you don't need specialized scissors immediately.
Any small, sharp pair that cuts thread cleanly can work.
How Much Does It Cost to Start Embroidery?
Embroidery can be a relatively inexpensive hobby to try.
If you purchase only basic supplies, you can often assemble a beginner setup without making a large investment. A beginner kit can also be convenient because the fabric, thread, needle, pattern, and hoop may already be selected to work together.
Your costs increase mainly when you begin collecting specialty threads, premium fabrics, larger hoops, storage systems, patterns, and other accessories.
TIP CALLOUT
Start small. Buy enough supplies for one complete beginner project before investing in a large collection of thread and tools.
5 Basic Embroidery Stitches to Learn First
You don't need to know dozens of stitches before making something attractive.
Start with these five.
1. Running Stitch
Running stitch is one of the simplest embroidery stitches.
Bring the needle up through the fabric, move forward a short distance, take it back down, then repeat.
It works well for outlines, borders, decorative lines, and simple details.
2. Backstitch
Backstitch creates a continuous-looking line and is especially useful for outlines, lettering, stems, and geometric shapes.
It's one of the most useful stitches for a beginner to learn.
3. Satin Stitch
Satin stitch uses closely placed straight stitches to fill a shape.
It can be used for petals, leaves, lettering, and small areas of solid color.
Begin with small shapes because keeping long satin stitches smooth and even takes more practice.
4. Stem Stitch
Stem stitch creates a slightly twisted line that works beautifully for stems, curves, outlines, and decorative lettering.
It's particularly useful for botanical designs.
5. French Knot
French knots create small raised dots.
They're useful for flower centers, texture, eyes, decorative accents, and clusters of tiny details.
They may feel awkward initially, so practice several on spare fabric before adding them to your project.
How to Set Up an Embroidery Hoop
Separate the inner and outer rings of your hoop.
Place the inner ring on a flat surface.
Lay your fabric over it, positioning the area you want to stitch near the center.
Place the outer ring over the fabric and inner ring.
Tighten the screw gradually while gently pulling the fabric around the edges.
The fabric should feel smooth and reasonably taut, but you don't need to stretch it excessively.
TIP CALLOUT
Think of the fabric as comfortably firm rather than aggressively stretched. If the fabric becomes distorted, loosen the hoop and reset it.
How to Transfer Your Pattern
There are several ways to put a design onto fabric.
For a straightforward beginner project, you can use a washable fabric-marking pen to trace a pattern onto light-colored fabric.
Place the printed design beneath the fabric. If you can see it clearly enough, lightly trace the main lines.
A bright window or light source behind the design can make tracing easier.
Always test your marking tool on a scrap of the same fabric first and follow its removal instructions.
How to Thread Your Needle
Embroidery floss commonly contains six strands twisted together.
Cut a manageable length rather than using a very long piece of thread.
Separate the number of strands required by your project and bring them back together before threading the needle.
Using shorter lengths can reduce tangling and wear while you stitch.
Your First Embroidery Project: Step by Step
Step 1: Choose a Small Design
Avoid making your first project overly ambitious.
A small botanical motif, simple geometric pattern, word, initial, or small landscape is enough.
Step 2: Prepare the Fabric
Cut a piece of fabric larger than your hoop so you have enough material around the edges to hold and adjust it comfortably.
Step 3: Transfer the Pattern
Lightly transfer your design using a fabric-appropriate marking method.
Step 4: Put the Fabric in the Hoop
Center your design and tighten the fabric.
Step 5: Prepare Your Thread
Choose your first color, separate the required strands, and thread your needle.
Step 6: Begin With the Simplest Areas
Start with straightforward outlines using running stitch or backstitch.
Don't begin with the most complicated section of the design.
Step 7: Add Filled Areas and Details
Once you're comfortable, add satin stitch, stem stitch, French knots, or other details required by your pattern.
Step 8: Finish Your Thread Securely
Follow your chosen pattern or stitching method for securing thread neatly on the back.
Try to avoid large knots and long tangled strands.
Step 9: Remove Your Markings
If you've used a removable fabric marker, follow the manufacturer's instructions.
Step 10: Finish or Display Your Work
Your finished embroidery can stay in the hoop as simple wall art, or eventually be incorporated into another project.
Common Beginner Mistakes
Pulling the Thread Too Tight
Embroidery stitches should sit comfortably on the fabric.
Pulling too tightly can distort both the fabric and the design.
Using Thread That's Too Long
A very long thread may seem convenient, but it is more likely to knot, tangle, and become worn.
Starting With a Complicated Pattern
Your first project doesn't need to demonstrate every embroidery technique.
Completing a simple design is usually more satisfying than abandoning an elaborate one.
Buying Too Many Supplies
It's easy to become excited by thread colors, organizers, hoops, scissors, patterns, and accessories.
Start with what one project requires.
Expecting Perfect Stitches
Your first stitches probably won't all be identical.
That's normal. Consistency improves as your hands become familiar with the movements.
How Long Does Embroidery Take to Learn?
You can learn the basic mechanics of several embroidery stitches in a single practice session.
Becoming consistently neat and confident takes longer.
Instead of thinking about "mastering embroidery," focus on completing one small project. Your second project will already benefit from what you learned during the first.
Is Embroidery a Good Hobby for Adults?
Embroidery can work particularly well for adults looking for a creative hobby that doesn't require much space or expensive equipment.
It can be done alone, picked up for relatively short sessions, and adapted to many different styles—from traditional florals to typography, landscapes, abstract designs, and modern illustration.
It also gives you something physical at the end of your time: something you actually made.
Beginner Embroidery Checklist
Use the CMS Checklist component for this section:
Choose one simple beginner pattern
Get a 5–7 inch embroidery hoop
Choose suitable cotton or similar beginner-friendly fabric
Get embroidery needles
Choose a few colors of embroidery floss
Find small sharp scissors
Get a fabric-safe marking tool if needed
Learn running stitch
Learn backstitch
Practice one or two decorative stitches
Complete your first small project before buying lots of additional supplies
What Should You Try After Your First Project?
Once you've completed a basic project, you can start experimenting with different stitches, fabrics, thread thicknesses, patterns, and subjects.
You might try botanical embroidery, lettering, landscapes, visible mending, clothing embellishment, or your own original designs.
There's no need to learn everything at once.
The best next project is simply one that makes you want to pick up the needle agin.