Starting embroidery does not require a drawer full of thread, a specialist toolkit, or one of those enormous craft boxes with a place for everything.
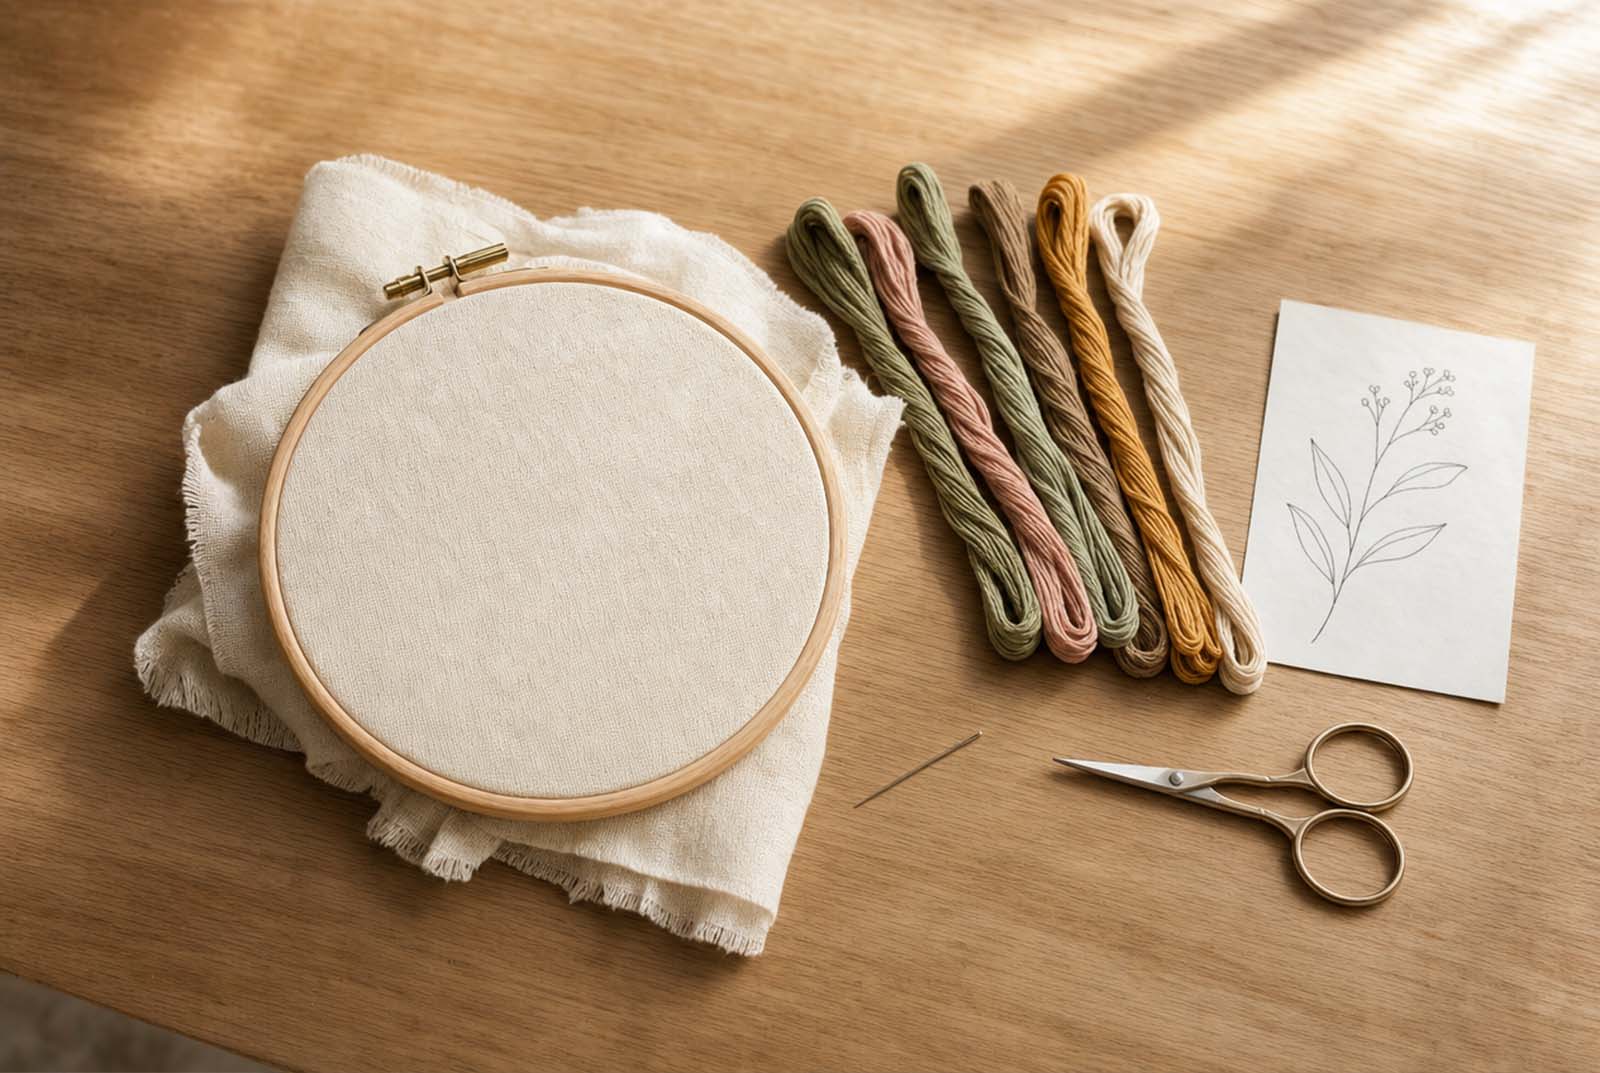
For your first project, you need surprisingly little: something to stitch on, something to stitch with, a needle, a hoop, a pair of scissors, and a simple design.
The tricky part is that embroidery shops—and online shopping pages—can make the hobby look much more complicated than it is. Hoops come in different materials and sizes. Needles have numbers. Floss comes in hundreds of colors. There are transfer pens, stabilizers, organizers, frames, lights, stands and tools you won't understand until you've already been stitching for a while.
You can ignore most of that for now.
This guide is about the smallest useful embroidery kit: what you actually need for a first project, what each item does, and what can wait until you know you enjoy the hobby.
If you're still deciding whether embroidery is your kind of thing, start with our Embroidery hobby page.
The short version: what you actually need
If you'd rather start stitching than spend another hour researching supplies, begin with these seven things:
One embroidery hoop, roughly 5–7 inches across
A piece of beginner-friendly fabric
An embroidery needle
A few colors of six-strand embroidery floss
Small, sharp scissors
A simple way to transfer your design
A beginner-friendly pattern
That's enough.
You may already own the scissors. Your first pattern may be free. You don't need a box containing fifty colors of floss before you've made your first stitch.
Buy—or gather—the basics first. Add tools later when you encounter a problem that a new tool would actually solve.
1. An embroidery hoop
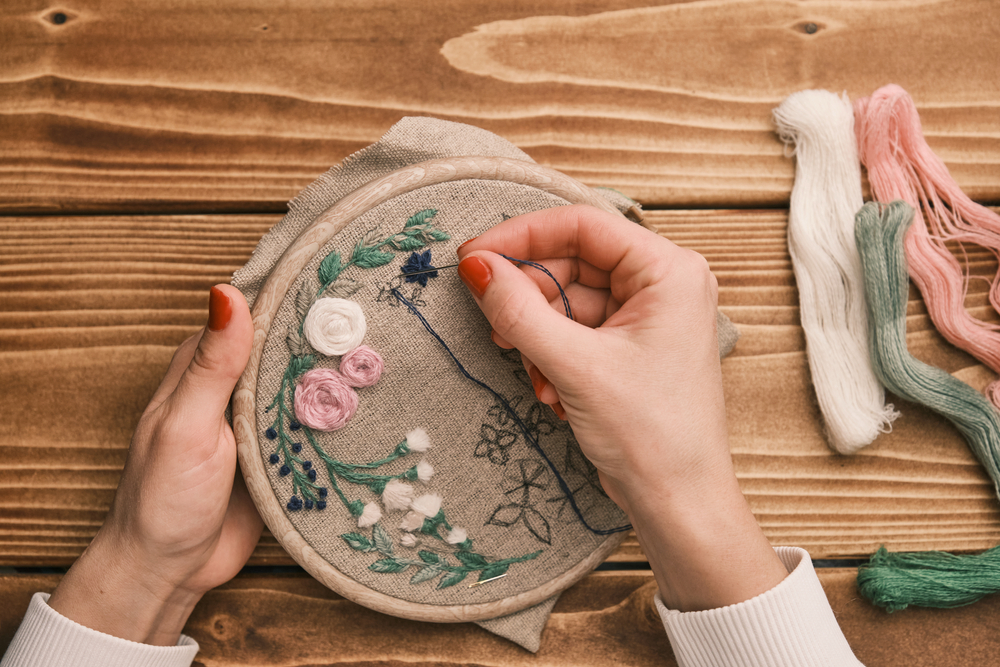
An embroidery hoop holds your fabric under tension while you stitch. That makes the fabric easier to handle and gives you a more stable surface to work on.
For a first project, a hoop somewhere around 5–7 inches (13–18 cm) is a practical place to start. This isn't a rule or a special “beginner size.” It's simply small enough to hold comfortably while still giving you useful working space. Beginner kits from established embroidery suppliers commonly use hoops around this range.
You'll usually encounter wooden and plastic hoops. Either can work. At this stage, don't spend too much time trying to determine which material is objectively best. A basic hoop that grips your fabric securely is more important than having the perfect one.
One useful habit matters more than the price of the hoop: keep the fabric comfortably taut while you're working, but don't treat it like a drum that needs to be stretched as hard as possible.
And if your design is larger than your hoop? That doesn't automatically mean you need a giant hoop. For many projects, you can reposition a smaller hoop as you work.
2. Fabric that won't fight you
You can embroider on all kinds of fabric, but that doesn't mean every fabric is equally pleasant to learn on.
For a first project, look for a stable, medium-weight woven fabric that doesn't stretch much while you're stitching. Plain cotton and cotton-linen blends are approachable choices because you can see what you're doing and the fabric is relatively easy to control in a hoop.
What matters most isn't finding a fabric labeled “for beginners.” It's avoiding material that adds another problem while you're still learning how to make the stitches.
Very stretchy fabric can move underneath your needle. Very loose weaves can make precise placement harder. Thick or densely woven material may require more effort to pull the needle through.
Save those experiments for later.
You also don't need a large piece. Choose fabric comfortably larger than your hoop and design so there's enough material around the edges to hold and reposition it.
3. Embroidery needles
Yes, embroidery has its own needles. No, you don't need to understand every needle type and number before you begin.
A typical embroidery needle has a sharp point for passing through fabric and an eye that can accommodate embroidery thread. You'll also see chenille needles, which have a larger eye and are useful with thicker threads.
For your first project, the important question is simply:
Can you comfortably thread it with the floss you're using and pass it through your fabric without forcing it?
If yes, you have enough information to begin.
Needle sizes become useful when you're matching different fabrics, threads and techniques. Until then, a small assortment of embroidery needles is more practical than trying to predict the one exact size you'll use forever.
And if threading the needle becomes the most frustrating part of your new hobby, a basic needle threader is one of the optional extras that may actually earn its place.
4. Embroidery floss
The colorful thread you'll see in most beginner hand-embroidery projects is usually stranded embroidery floss.
Standard stranded cotton floss commonly contains six individual strands twisted together. You don't always stitch with all six. The strands can be separated and recombined depending on the look you want or what your pattern specifies.
Fewer strands generally produce a finer-looking line. More strands make the stitching fuller.
But don't turn that into another decision you have to master before starting. If you're following a pattern, use the number of strands it recommends.
And resist the temptation to buy fifty colors just because they're beautiful.
For a first project, you only need the colors your design actually uses. Three or four colors can make a perfectly interesting piece of embroidery—and you'll learn much more from stitching with them than from organizing a huge unused collection.
5. Small, sharp scissors
You don't need elaborate embroidery scissors to make your first stitch.
You do need something that can cut thread cleanly and precisely.
Small, sharp scissors are convenient because they're easy to keep beside your work and give you more control when trimming thread. If you already own a suitable pair, use them.
This is a good example of something you shouldn't rebuy just because you've started a new hobby.
Later, beautiful dedicated embroidery scissors may become one of those little pleasures of the craft. For day one, clean cuts are enough.
6. A way to transfer your pattern
Unless you're stitching completely freehand, you need some way to get the design from the page—or screen—onto your fabric.
There are several methods, including tracing with a suitable fabric-marking tool and using transfer materials designed for embroidery. Different fabrics and designs make different methods more convenient.
For a beginner working with light-colored fabric and a simple design, tracing can be enough when the design is visible through the fabric.
The important word here is suitable. Don't grab a permanent pen simply because it's nearby. Any mark that won't be completely covered by your stitches may remain part of the finished piece.
Before using an unfamiliar marking tool on your project, test it on a scrap of the same fabric first.
You don't need to buy every transfer system before discovering which method you prefer.
7. A pattern simple enough to finish
Your final essential isn't really a tool.
It's a project you can realistically complete.
A first pattern doesn't need dozens of colors, intricate shading or fifteen stitch types. Look for a small design with clear lines, relatively open areas and only a few basic stitches.
Finishing something modest is far more useful than abandoning an ambitious design halfway through.
Your first embroidery project has one job: teach you whether you enjoy making the second one.
Useful extras — but not yet
Once you start browsing embroidery supplies, you'll quickly find tools that sound as though they belong in every kit.
Needle threaders. Floss organizers. Bobbins. Stabilizers. Magnifiers. Hoop stands. Special storage boxes. Transfer papers. Fabric pens in several colors.
Some of them are genuinely useful.
That doesn't make them essential.
A needle threader is worth considering if threading a needle repeatedly frustrates you. A floss organizer becomes useful when you have enough colors that keeping track of them is becoming annoying. A hoop stand may make longer stitching sessions more comfortable.
Notice the pattern: each extra should solve a problem you've actually encountered.
You don't need to predict every future inconvenience before making your first stitch.
What not to buy when you're starting
There is nothing wrong with collecting beautiful craft supplies. That can become part of the pleasure of embroidery.
But collecting supplies and learning embroidery are two different activities.
For your first project, you probably don't need:
Use a normal bullet list here:
a complete collection of floss colors
several hoop sizes
professional storage systems
a hoop stand
specialist lighting
large packs of every needle size
advanced transfer equipment
expensive embroidery kits simply because they contain more pieces
The goal isn't to own as little as possible forever. It's to avoid making the shopping phase larger than the hobby itself.
How much does it cost to start embroidery?
There isn't one useful universal price for starting embroidery.
Supply prices vary by country, shop, material quality and whether you buy individual items or a prepared kit. More importantly, you may already own some of what you need.
Instead of starting with a budget, start with the essentials.
If you already have suitable scissors, don't buy another pair. If you find a free beginner pattern you like, use it. If your project needs four thread colors, don't buy twenty.
A basic starter kit can also make sense when it contains the supplies for one specific project. The advantage isn't necessarily that a kit is cheaper; it's that someone has already matched the fabric, thread, needle and pattern for you.
Just check what is actually included. A large box with dozens of accessories isn't automatically a better beginner kit.
Your first-shopping checklist
Before you buy anything else, make sure you have:
One hoop around 5–7 inches
Enough suitable fabric for your chosen design
An embroidery needle that works with your thread
Only the floss colors your pattern needs
Small, sharp scissors
A suitable marking or transfer method
One simple pattern you genuinely want to make
That's your starting kit.
Everything else can wait until embroidery gives you a reason to need it.
You have the supplies. Now make something.
There's a point where more preparation stops making a hobby easier and simply postpones the moment you begin.
Once those seven things are sitting in front of you, stop researching equipment.
Thread the needle.
Put the fabric in the hoop.
Make the first stitch.
It may be uneven. Your thread may tangle. You may discover halfway through that you should have chosen a different color.
That's part of learning the hobby—not evidence that you bought the wrong supplies.
If you're ready to go from a pile of materials to your first stitches, continue with How to Start Embroidery as an Adult.
Start your first embroidery project →